Chocolate is the ultimate holiday indulgence — rich, decadent, and capable of bringing people together during festive celebrations. From cozy winter nights to bustling holiday parties, chocolate has a way of making every moment feel more special. Whether you're gifting homemade treats to friends and family, creating a show-stopping dessert table, or simply enjoying a quiet indulgence for yourself, the secret to perfect holiday chocolate treats lies in understanding a few essential techniques.
Over the years of baking and creating custom desserts at Elizabeth's Baked Goods, I've learned that working with chocolate is both an art and a science. It's not just about melting chocolate and hoping for the best — it's about choosing the right ingredients, controlling temperature, understanding texture, and presenting your treats in a way that feels festive and thoughtful. In this guide, I'll share the professional techniques and lessons I've learned so you can confidently create chocolate treats that look as beautiful as they taste.
Start With High-Quality Chocolate
The foundation of every great chocolate dessert is, unsurprisingly, the chocolate itself. One of the most common mistakes beginners make is reaching for low-quality chocolate chips or generic baking chocolate. While these products are convenient, they often contain stabilizers, lower cocoa content, and added waxes designed to help them hold their shape — not melt smoothly.
High-quality chocolate behaves differently. It melts evenly, sets properly, and delivers a richer, smoother flavor that immediately elevates your finished treats.
What to look for when buying chocolate:
- Dark chocolate with 60–70% cocoa for balanced sweetness and depth
- Premium milk chocolate with real cocoa butter
- White chocolate made with cocoa butter (not palm oil substitutes)
Using better chocolate doesn't just improve flavor — it improves texture, appearance, and overall consistency. This is especially important for dipped treats, chocolate bark, truffles, and molded chocolates.
Master the Art of Tempering Chocolate
Tempering is one of the most important — and intimidating — steps in chocolate work. Properly tempered chocolate has a glossy finish, a firm snap, and won't develop white streaks or bloom as it sets. While many home bakers skip this step, it's one of the biggest differences between homemade and professional-looking treats.
Tempering works by stabilizing cocoa butter crystals so the chocolate sets evenly and stays shiny at room temperature.
Common Tempering Methods
Seeding Method (Best for Home Bakers)
Melt about two-thirds of your chocolate gently, then stir in finely chopped unmelted chocolate until the temperature drops to the correct range.
Microwave Method
Melt chocolate in short 15–20 second intervals, stirring constantly. This method works but requires close attention to avoid overheating.
Tabling Method
Used by professionals, this involves spreading chocolate on a marble surface and working it until cooled before returning it to the bowl.
Ideal Temperatures:
- Dark chocolate: 88–90°F
- Milk chocolate: 86–88°F
- White chocolate: 84–86°F
A digital candy thermometer is one of the best investments you can make if you work with chocolate regularly.
Balance Texture With Fillings and Add-Ins
Chocolate treats become truly memorable when they include contrasting textures and complementary flavors. Fillings like ganache, caramel, nut pastes, and fruit bring depth — but they also require balance.
Overfilling chocolates or using overly wet fillings can cause cracking, leaking, or uneven setting.
Tips for success:
- Use a 2:1 chocolate-to-cream ratio for firm ganache centers
- Use 1:1 ratio for soft truffle fillings
- Toast nuts before adding for enhanced flavor
- Dry fruit thoroughly to prevent moisture issues
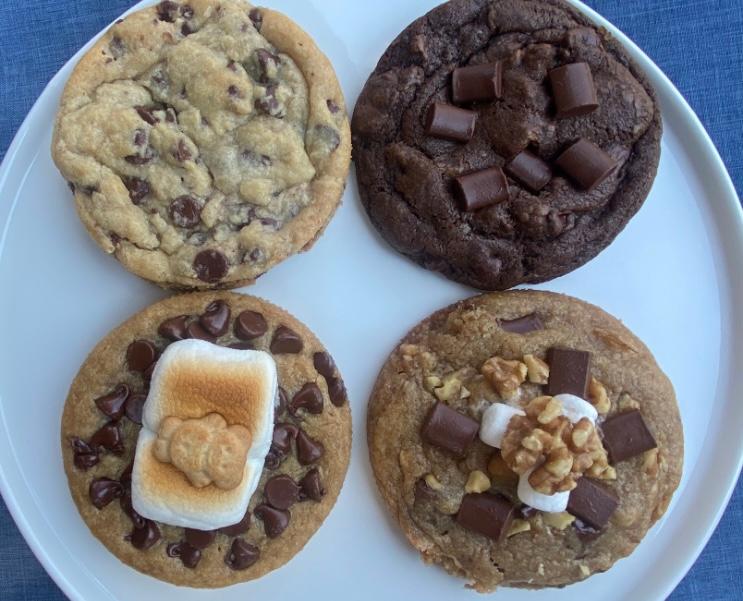
At Elizabeth's Baked Goods, many of our most popular items — including chocolate-studded cookies and fudgy brownies — rely on this balance of texture to keep customers coming back.
👉 You can explore recipes like my Chunky Chocolate Chip Cookies and Ultimate Fudgy Brownies for examples of how chocolate texture plays a major role in success.
Control Your Environment: Temperature and Humidity Matter
Chocolate is extremely sensitive to its environment. Temperature fluctuations and humidity can affect everything from melting to setting.
Common issues caused by environment:
- Chocolate melting too quickly in warm kitchens
- Sugar bloom from humidity exposure
- Sticky or dull finishes
Best practices:
- Work in a cool, dry space whenever possible
- Store finished treats at 60–70°F
- Avoid refrigeration unless absolutely necessary
- Always use airtight containers for storage
If you're making treats ahead of time for gifting or events, environment control is just as important as the recipe itself.
Presentation Is Part of the Experience
Holiday chocolate treats should feel special before they're even tasted. Presentation transforms simple chocolate into a gift-worthy experience.
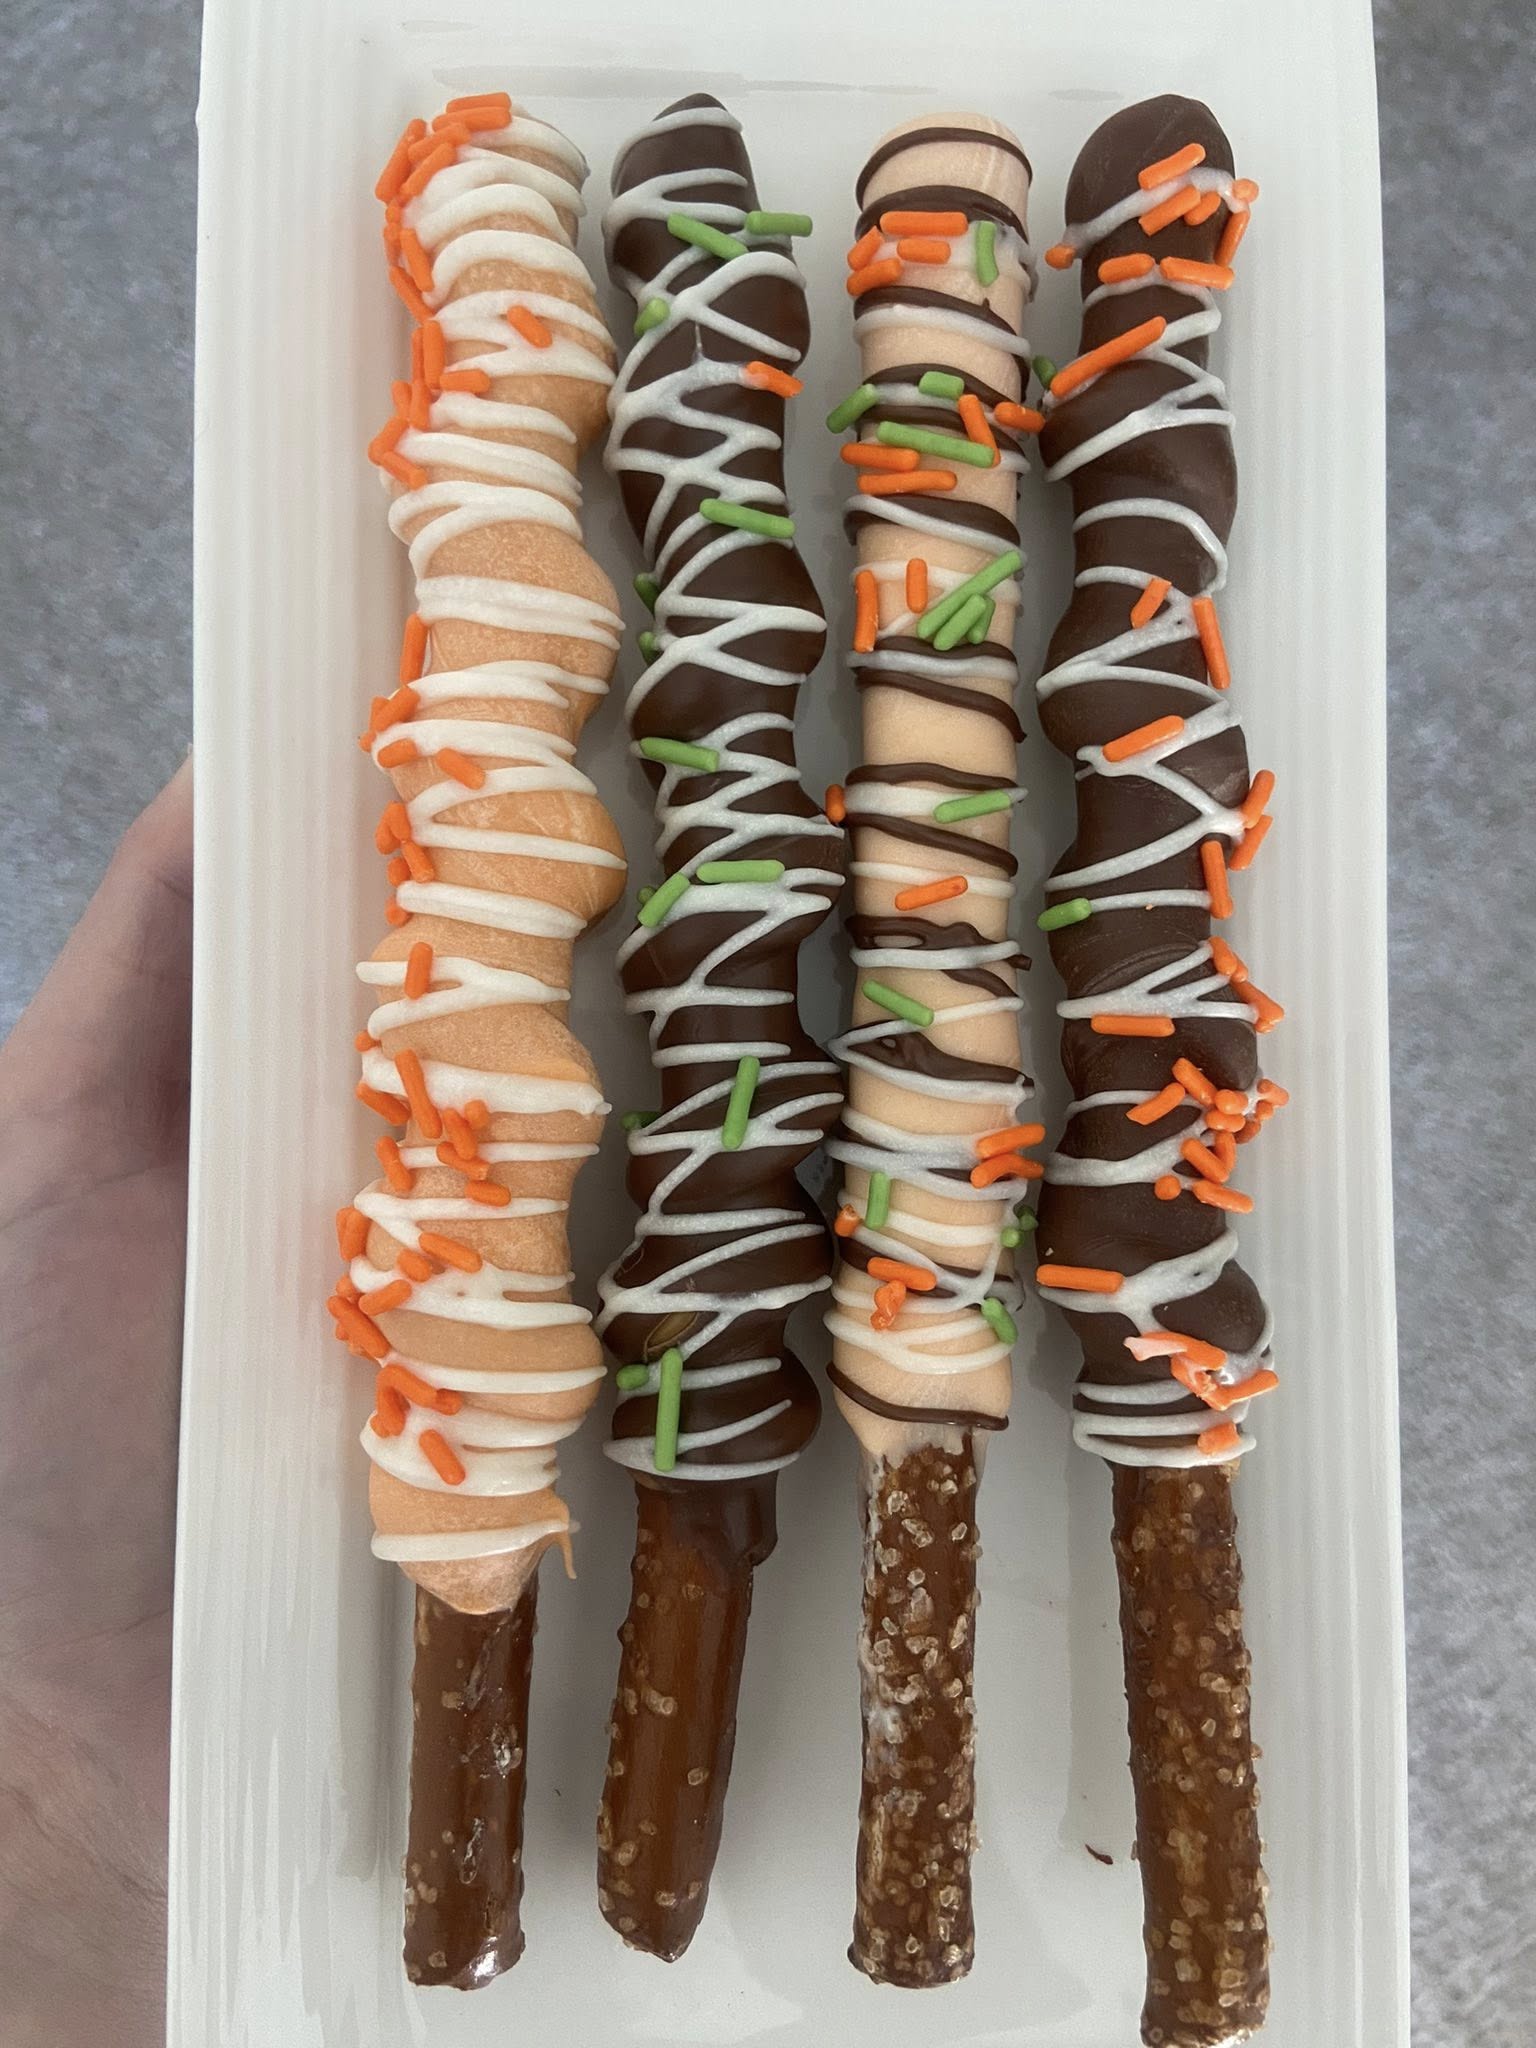
Small details go a long way:
- Drizzled contrasting chocolate
- Festive molds
- Holiday sprinkles or crushed peppermint
- Edible gold leaf or sea salt flakes
When customers order holiday treats from Elizabeth's Baked Goods, they're not just paying for flavor — they're paying for craftsmanship and presentation that feels intentional and celebratory.
Advanced Chocolate Decorating Techniques
Once you've mastered the basics, experimenting with decorative techniques can take your chocolate treats to the next level.
Professional techniques to try:
- Transfer sheets for printed designs
- Chocolate piping with parchment cones
- Layered chocolate bark with embedded toppings
- Hand-painted molds using colored cocoa butter
These techniques are especially useful for custom orders, themed events, and holiday dessert tables where visual impact matters just as much as taste.
Common Chocolate Mistakes (and How to Avoid Them)
Even experienced bakers run into issues when working with chocolate. Here are a few common mistakes and how to fix them:
- Overheating chocolate: Always melt slowly and stir frequently
- Introducing moisture: Keep tools completely dry
- Skipping tempering: Results in dull, soft chocolate
- Rushing the process: Chocolate rewards patience
Learning to recognize these pitfalls will save time, ingredients, and frustration.
How Long Do Holiday Chocolate Treats Last?
Shelf life depends heavily on ingredients and storage.
- Plain chocolate bark: 2–3 weeks
- Filled chocolates: 5–7 days
- Chocolate-dipped cookies or pretzels: 7–10 days
Labeling and dating your treats is especially important when gifting or selling chocolate items.
Final Thoughts: Chocolate Is Worth the Effort
Creating perfect holiday chocolate treats doesn't require professional equipment or years of training — it requires attention to detail, quality ingredients, and patience. When you take the time to understand chocolate, it becomes one of the most rewarding ingredients to work with.
If you're short on time or want inspiration, ordering professionally made chocolate treats can also help guide your own creations. Seeing expertly tempered chocolate and balanced flavors in person often sparks new ideas.
Whether you're a beginner experimenting at home or an experienced baker refining your technique, remember: chocolate is forgiving when you respect the process.
Happy holidays — and happy chocolate making.
Want More Holiday Dessert Inspiration?
Check out my guide to perfect holiday dessert gifts for ideas on packaging, presentation, and pairing chocolate treats with cookies and brownies for unforgettable gift sets.